How To Add Quantity On Shopify

So you want to answer the question: “How do I add quantity on Shopify?”
Trouble is, you’re getting a bunch of ambiguous results.
That’s because it’s kind of an ambiguous question. You’re likely looking for one of these three things:
- How to add a quantity button to your product page, allowing users to increase (or reduce) the number of items they’re purchasing.
- How to keep tabs on inventory levels in Shopify’s backend, ensuring you always have sufficient stock.
- How to publicly display how many units of a product are left in stock, helping you drive sales by increasing scarcity and urgency.
One question; three very different intents.
But don’t worry, because in this article, we’re going to cover all three.
How To Enable Quantity Selector Box To Shopify Product Pages
Pro tip: For more product page optimization tips, check out our guide: Shopify Product Information: Enhance the Customer Experience and Boost Sales.
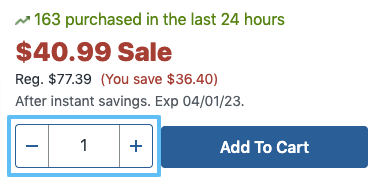
Adding a quantity selector to a product page gives customers an easy way to make bulk purchases of the same product in a single transaction.
Quantity selectors generally looking something like this:
Fortunately, it’s pretty simple to add one to your Shopify store. Most Shopify themes provide support for a quantity selector; these instructions are based on the Shopify Dawn theme:
- Visit Shopify Admin > Themes.
- Click Customize for the theme you’re working on.
- Navigate to the product page.
At this point, you should see the quantity selector block in the product information section:
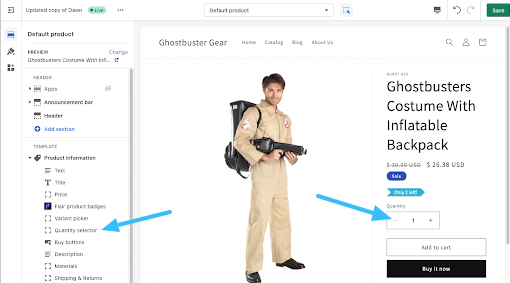
Under product information, click Add block and add the Quantity selector block if needed.
Learn How to Double (2X) Your Shopify Sales with Product Labels
-
Boost sales by highlighting key features with product badges
-
Increase conversions by promoting scarcity, urgency and social proof
-
Sell more with targeted promotions to increase average order sizes
How to Add Quantity On Shopify Back End (To Keep Track Of Inventory)
Stock shortages are a big problem for ecommerce businesses, with research warning that:
- 73% of consumers feel less loyal to retailers after experiencing product unavailability
- 59% feel less confidence to keep shopping with a retailer if they experience continual stockouts
So it pays to keep close tabs on your stock levels.
Of course, Shopify already tracks product inventory automatically. But there might be times when you need to manually change those figures to give an accurate reflection of your real-world stock levels.
There are a couple different ways you can do this through Shopify’s backend…
Adding Quantity to Products in the Shopify Admin
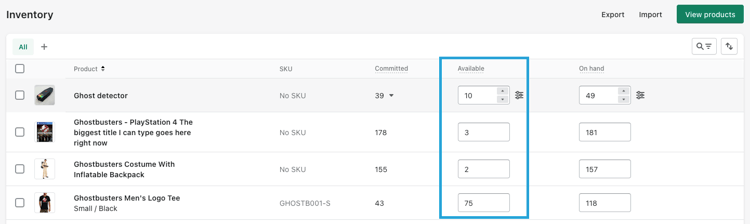
Follow these steps to change inventory quality via your Shopify admin dashboard:
- Click Products.
- From the expanded menu, choose Inventory.
- Use the up and down arrows to alter stock level, or enter a number in the box.
- Don’t forget to save your changes!
Adding Quantity With a Barcode Scanner
If you’ve got a barcode scanner, you can use it to scan product barcodes and manage your inventory via mobile or tablet.
There are actually two ways you can manage stock levels using your barcode scanner:
Increase Inventory Quantity By One
This approach couldn’t be easier:
- Navigate to Products within the Shopify app.
- Select Inventory scanner.
- If relevant, choose your inventory location.
- Scan the product barcode.
- Save your changes.
Adjust Quantity By a Specific Amount
Sometimes, inventory management is a little more complex than just adding one item to your stock levels.
Follow these steps to adjust your product quantity by any other amount than +1:
- Navigate to Products within the Shopify app.
- Select Inventory scanner.
- If relevant, choose your inventory location.
- Scan the product barcode.
- Tap the product in question.
- Enter the increased or decreased volume level in the Adjust field. For instance, if you want to decrease inventory quantity by 10, you’d enter “-10.”
- Tap Done.
- Save your changes.
Adding Quantity With an Inventory Import
If you don’t fancy doing all the tinkering within Shopify’s backend, you can make the changes within a CSV instead.
First, you’ll need to download your current inventory levels, as follows:
- Go to Products > Inventory.
- Click Export.
- Select the rows you wish to export.
- Specific whether you’re downloading from one or multiple locations (if relevant).
- Click Export inventory.
The next step is to trawl through the CSV file, manually altering stock levels as required.
Note: If the CSV contains location columns for which you don’t want to change the inventory, delete the columns (including the headings) for those locations.
If you need some help identifying the relevant product, read Shopify’s explanation of the inventory CSV file format.
Having updated your stock levels, it’s time to upload the CSV to update and overwrite inventory quantities in Shopify’s backend. Here’s how:
- Navigate to Products > Inventory.
- Click Import.
- Select the relevant CSV.
- Click Import inventory.
- Verify the information you’re importing.
- Click Start import.
How To Display and Promote Limited Quantity On Shopify to Capture More Sales
Our first two methods for adding quantity on Shopify are about user experience and inventory management, respectively.
But our third and final method is all about leveraging product scarcity to boost Shopify conversion rates.
Promoting limited-quantity products is a highly effective way to drive immediate action from would-be customers.
Because they’re more likely to convert here and now if your stock levels are running low.
Of course, people browsing your Shopify store can’t take a peek at your backend. If you’re low on stock, you need to tell them.
Here’s how to do it without code using the Shopify Dawn theme (N.B. other themes may also support this feature):
- Visit Shopify Admin > Themes.
- Click Customize for the theme you’re working on.
- Navigate to the product page.
- Under the Product information section, add the Inventory status block.

Here’s the Inventory status block, with options for inventory threshold:
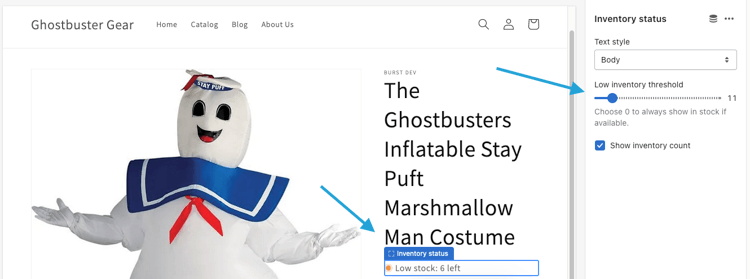
Bear in mind that if you don’t check the Show inventory count box, it’ll just display a “Low stock” message.
But that’s not all you can do.
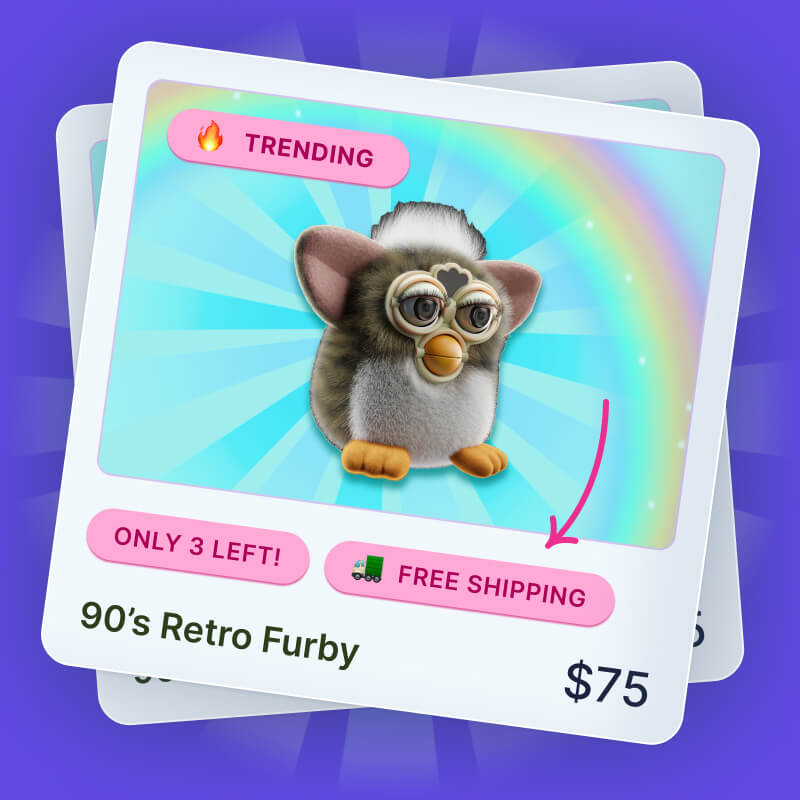
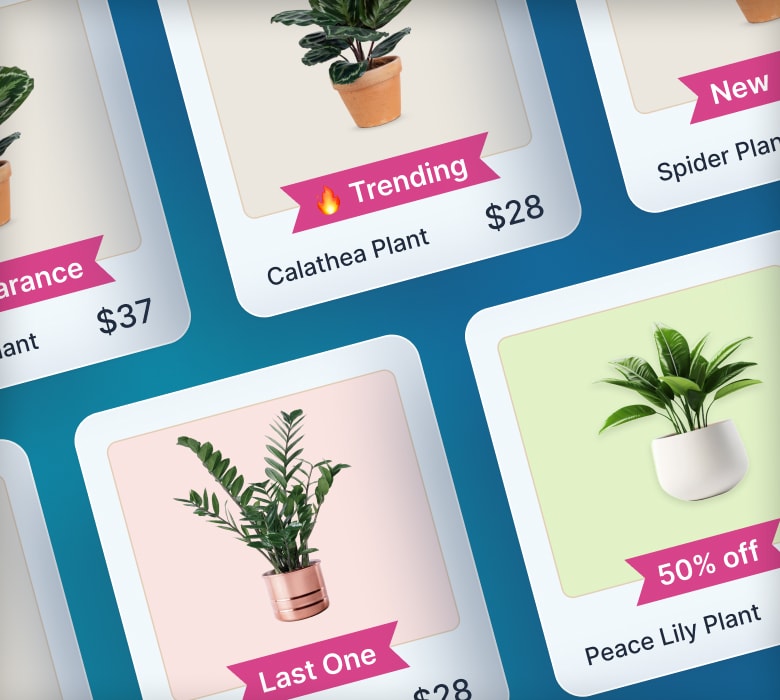
To really drive home product scarcity, try wrapping the message in a product badge, like in this example:
Adding a badge really makes the low-stock message stand out on the product page, which means visitors are more likely to notice it — and, hopefully, take action.
Pro tip: Find out how to add product labels to your store in our guide: How to Add and Customize Product Labels & Badges on Shopify.
Other FAQs
How Do I Add a Limited Quantity on Shopify?
You can add a limited quantity message to product and collection pages on Shopify by editing your theme.
Follow these steps if you’re using the Shopify Dawn theme (N.B. other themes may also support this feature):
- Visit Shopify Admin > Themes.
- Click Customize for the theme you’re working on.
- Navigate to the product page.
- Under the Product information section, add the Inventory status block.
Pro tip: For more product page optimization tips check out our guide: Maximize Conversions: Optimize Your Shopify Product Pages.
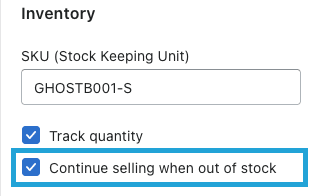
How Does Shopify Handle Out-of-Stock Products?
Shopify considers a product to be out of stock when the inventory level reaches zero (or below).
By default, Shopify doesn’t let customers buy out-of-stock items until inventory returns to a positive level.
However, you can allow purchasing on these items from within the Inventory section by enabling the setting Continue selling when out of stock.
Use this approach when:
- You want customers to be able to pre-order the product.
- Shopify’s data doesn’t represent your real-world inventory levels.
- You know stock is incoming and you want to keep selling before it turns up.
- You’d rather sell first and order extra stock later.
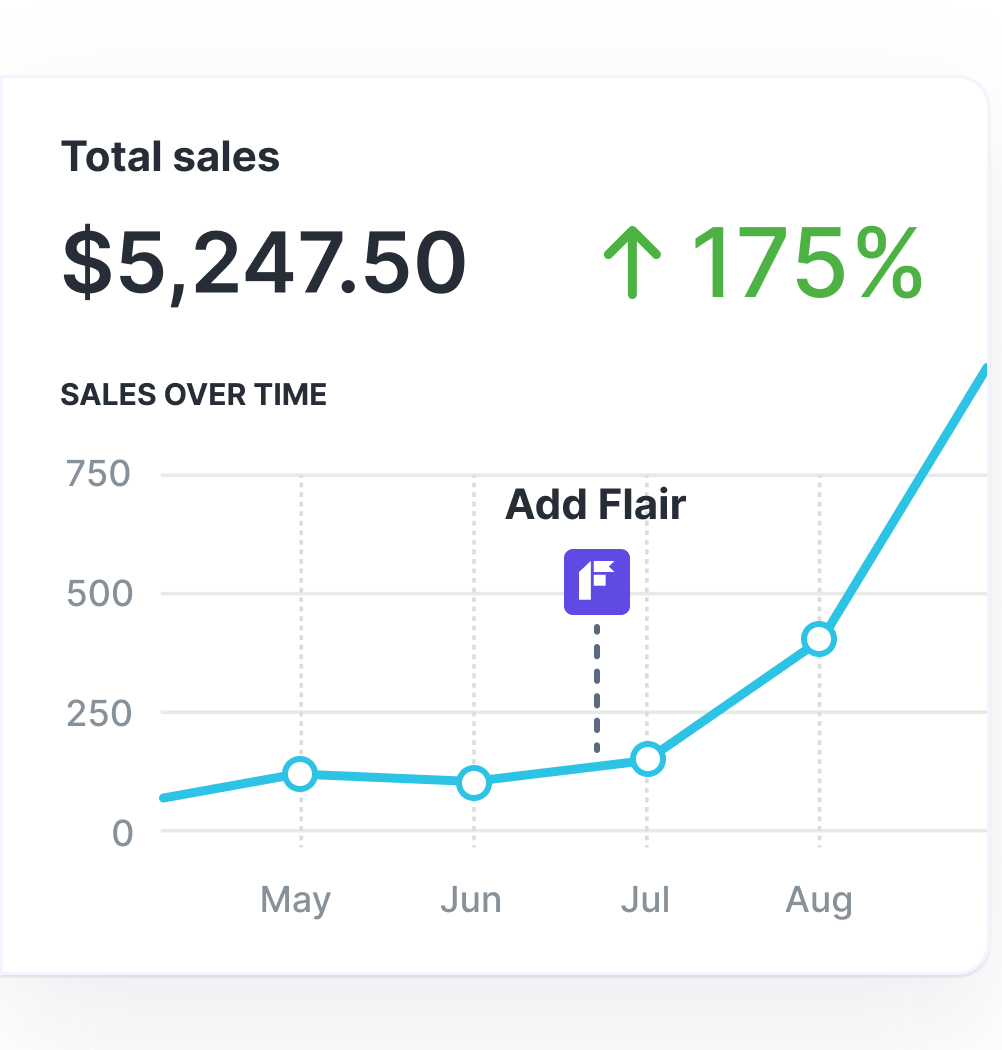
Grow Your Shopify Sales by over 175% with Flair
-
Increase sales using product badges and sales banners
-
Maximize conversions with scarcity, urgency and countdown timers
-
Automate promotions with targeted rules and scheduling
Conclusion
Managing and displaying inventory levels isn’t the “sexiest” part of running a Shopify store.
But it’s clearly important.
The tips in this article can encourage customers to buy now, improve your conversion rate, and ensure you (and Shopify) always have a clear picture of stock quantities across your product lines.
That opens the door to a whole world of scarcity marketing tactics that can help boost conversions.
Looking for even more ways to turn website visitors into paying customers? Check out our 25 tips to increase conversion rates on Shopify.