How To Edit Collections on Shopify

A Shopify merchant’s work is never done.
Sure, you took the time to build a bunch of Shopify collections. But some of those collections have become outdated; maybe they’re full of out-of-stock products, or perhaps you built them for a sale or promotion that’s no longer running.
Whatever the case, you need to edit your Shopify collections — and we’re here to walk you through the process. And because the word “edit” is kinda vague, we’ve provided step-by-step guidance on 12 common ways to adjust, update, and generally play around with Shopify collections.
Let’s get into it…
Benefits of Optimizing Your Shopify Collections
Before we get into the practical stuff, let’s briefly discuss the key benefits of editing collections on Shopify:
- Improve the user experience. The whole point of building Shopify collections is to improve your store’s UX by making it easier for shoppers to find what they’re searching for. That’s not going to happen if your collections are out of date.
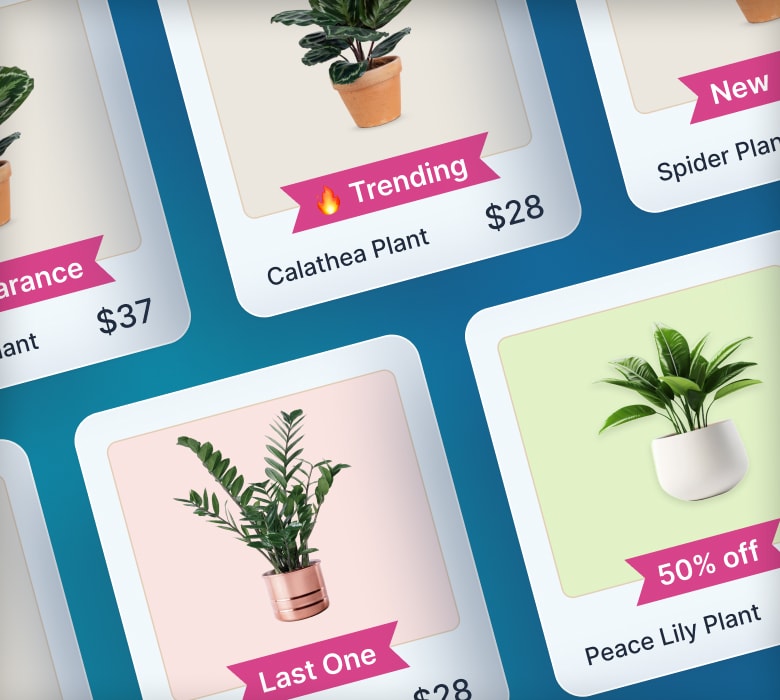
- Showcase your best products. It’s in your best interests to present customers with your most attractive products, fast. So you might want to rearrange existing collections to prioritize new additions or trending products.
- Boost your SEO performance. As a rule, search engines like fresh content, so it pays to optimize your Shopify collections by updating the descriptions, adding featured images and videos, and more.
Pro tip: To learn more about the benefits and use cases of collections, read our in-depth guide: Shopify Collections & How to Use Them.
How To Edit a Collection in Shopify
Enough theory; now we’ll dig into the specifics of performing 12 of the most common edits to Shopify collections.
Some of these edits are super simple. Others involve multiple steps.
Either way, we’ve spelled out the full process for each and illustrated it with screenshots so you know exactly what you’re doing.
Add Selection Conditions for an Automated Collection
When you first create an automated collection, you have to set the criteria — or “conditions” — that define which products are automatically included.
But what if you want to change those conditions at a later point?
Here’s how to do it:
- Log in to your Shopify admin.
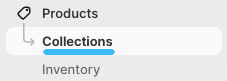
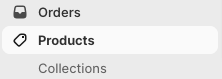
- In the left-hand menu, click Products > Collections.
- From the list of existing collections, click the one you want to edit.

- Scroll down to the Collection type section and click Add another condition to add new selection conditions.

- Optionally, if you want to delete an existing condition, just click the Trash can icon next to the relevant condition.

- Once you’ve made all your changes, hit the Save button in the bottom right corner to update your automated collection.
Change the Publish Date of a Collection
Not all new Shopify collections are for immediate publication.
For instance, you might start working on your Black Friday collection the previous March. Clearly, you don’t want it to go live months before the big day — but you’d prefer not to leave it in drafts and manually publish it at the start of November.
Never fear, there’s a solution: changing the publish date to a date in the future. Here’s how:
- Log in to your Shopify admin.
- In the left-hand menu, click Products > Collections.
- From the list of existing collections, click the one for which you want to edit the publish date.
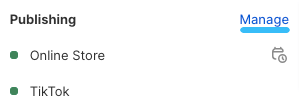
- In the Publishing section, click the calendar/timer icon.
- Use the calendar view to set your desired publish date, then choose the time you want the collection to go live.
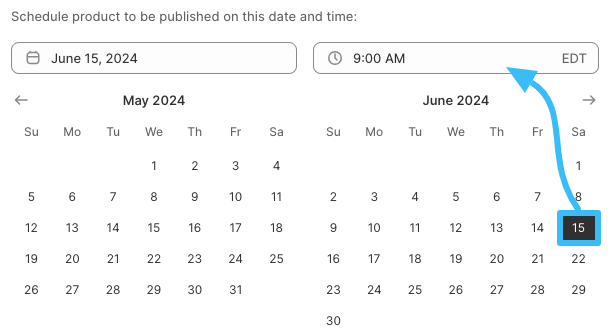
- When you’ve set your publish date and time, click the Schedule publishing button.
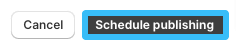
- Click Save to make the desired changes.
Replace a Manual Collection With an Automated Collection
Okay, full disclosure: Shopify doesn’t let you replace manual collections with automated collections.
However, we’ve got a workaround that effectively does the same thing. Here’s how to use it:
- Log in to your Shopify admin.
- Click Products in the left-hand menu.
- Click the Search and Filter button.

- Type the name of the manual collection you want to replace into the search box.

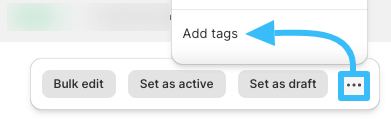
- Click the box at the top of the Products list to select all the products in your existing manual collection.
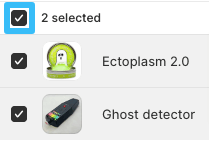
- Click the More actions icon (three dots), then click Add tags.
- In the Add tags box, type the name of your new product tag into the search box — choose something memorable that relates to the current manual collection — then click Add “{tag name}”.
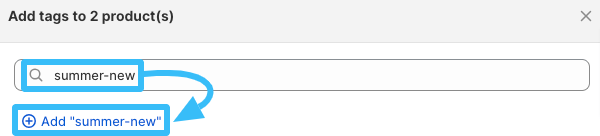
- Click Save at the bottom of the Add tags box.
- Now, click Collections in the left-hand menu.
- Click the Create collection button in the upper-right corner.

- In the Title section, write a title of up to 255 characters for your new, automated collection (you can use the same name as the existing manual collection).
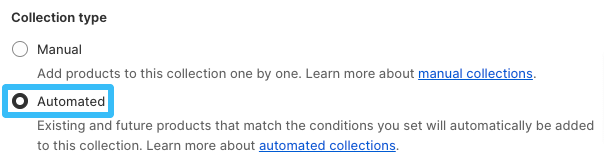
- In the Collection type section, choose Automated.
- In the Conditions section, set the following conditions: Product tag is equal to {the new tag name you created a few steps ago}.

- Click Save to create your collection.
And that’s it!
You now have an automated collection containing exactly the same products as the manual collection you wanted to replace. So if you want, you can now delete the existing manual collection (we’ll show you how to delete collections later in this article).
Change the Order of Your Collections
Every Shopify store has a page containing all its collections in alphabetical order. You can find yours by adding /collections to the end of your domain name.
But what if you want your collections to show up in a different, non-alphabetical, order?
Once again, we’ve got the answer!
- From your Shopify admin, navigate to Online store > Themes.

- Find the theme that you want to edit, then click Customize.

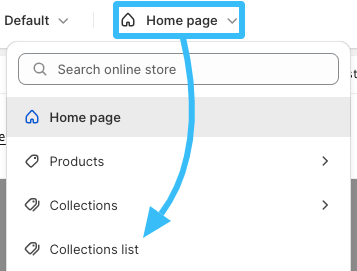
- On the Theme customizer page, click the drop-down menu at the top of the page and choose Collections list.
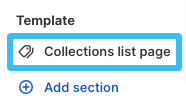
- Click Collections list page in the left-hand menu.
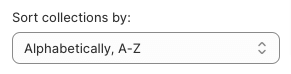
- Use the Sort collections by drop-down menu to change the sort order of your collections list page. You can choose alphabetically (A – Z or Z – A), date (new – old or old – new), or product count (high – low or low – high).
- When you’re happy with your new sort order, click the Save button in the upper-right corner.
Add a Featured Image to Collections
This one’s nice and easy:
- Log in to your Shopify admin.
- In the left-hand menu, click Products > Collections.
- Click the collection to which you want to add a featured image.
- In the Image section, either click Add image or drag and drop your image into the upload box.
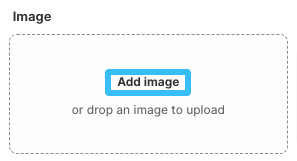
Pro tip: For best results, your featured image should have a 16:9 aspect ratio.
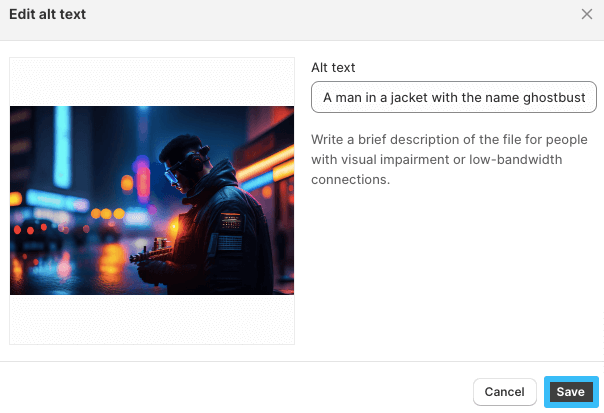
- Click Edit > Edit alt text to add alt text to your image, which can help your collection show up in relevant Google search results. Aim for around 125 characters and use natural language to describe what’s in the image.
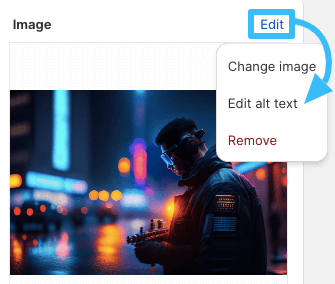
- Click Save to add your newly written alt text to your featured image.
- Click Save at the bottom of the screen to add the featured image to your collection.
Learn How to Double (2X) Your Shopify Sales with Product Labels
-
Boost sales by highlighting key features with product badges
-
Increase conversions by promoting scarcity, urgency and social proof
-
Sell more with targeted promotions to increase average order sizes
Customizing Collection Titles and Descriptions
If you’re changing the contents of a collection, you might need to update the title and/or description too.
Or perhaps you never wrote a description when you launched your collection, and you want to go back and add one now it’s live.
Either way, here’s how to do it:
- Log in to your Shopify admin.
- In the left-hand menu, click Products > Collections.
- Click the collection you want to edit the title and description for.
- Add your new title and/or description to the relevant text boxes.
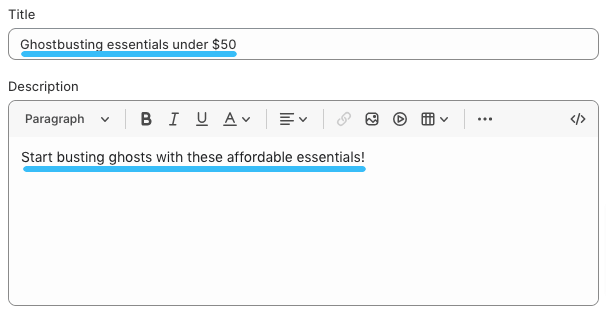
Pro tip: Shopify has a limit of 255 characters for collection titles, but there’s no limit for descriptions.
- When you’re happy with your new title and description, hit the Save button to update your collection.
Adding Videos To Your Shopify Collections
On average, people spend about 1.4X longer on pages containing videos.
So if you want your shoppers to stick around, it’s well worth adding videos to your collection pages.
Here’s how:
- Log in to your Shopify admin.
- In the left-hand menu, click Products > Collections.
- Click the collection you want to add a video to.
- Click the Insert video button in the description box.

- Paste the embed snippet into the text box (you can get this from YouTube, or wherever else the video is hosted; it typically starts with "<iframe …"), then click Insert video.
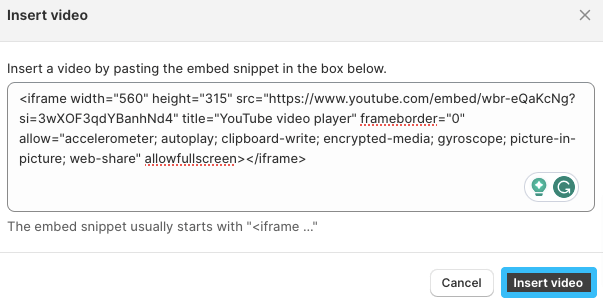
- Click Save.
Your video should now appear within your collection page's description section, so go to your store to check it out.
Add Products To a Manual Collection
By default, manual collections contain zero products. It’s your job to add them yourself, one by one.
Fortunately, it’s neither difficult nor time-consuming. Here’s how to do it:
- Log in to your Shopify admin.
- In the left-hand menu, click Products > Collections.
- Click the manual collection you want to add products to.

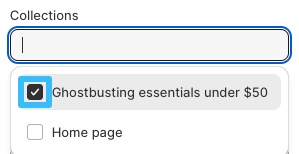
- Scroll down to the Products section and click Browse.

- Tick the product(s) you want to add to the collection, then click Done.

That’s it! You don’t need to save the collection; it updates the second you hit the Done button.
Add a Product To Existing Collections From its Details Page
There’s more than one way to add products to your collections.
As well as editing the collection, as detailed in the previous step, you can do it via the product’s details page by following these steps:
- Log in to your Shopify admin.
- In the left-hand menu, click Products.

- Click the product you want to add to an existing collection.

- Scroll down to the Collections section, click the empty search box, and choose the collection(s) you want to add the product to.
- Click Save to add the product to the desired collection(s).
Pro tip: For more advice, check out our step-by-step guide on how to add products to Shopify collections.
Remove Products From a Manual Collection
We’ve already shown you how to add products to a manual Shopify collection. Now let’s talk you through the opposite — removing products. Here’s how it works:
- Log in to your Shopify admin.
- In the left-hand menu, click Products > Collections.
- Click the manual collection you want to remove products from.
- Scroll down to the Products section, find the product you want to remove, and click the “X” icon to remove it. Repeat until you’ve removed all the desired products.

The collection updates automatically each time you remove a product, so there’s no need to hit Save at the end of the process — just close the tab or navigate elsewhere in your Shopify admin once you’re done.
Change Collection Availability
Not all Shopify collections will be permanent fixtures in your store.
For seasonal collections and promotions, you might want to add them to your site for a fixed period, then take them down. But you don’t want to delete them because you’re planning to reuse the collection next year.
Don’t worry, there’s a solution: changing the availability of your Shopify collection. Here’s how to do it:
- Log in to your Shopify admin.
- In the left-hand menu, click Products > Collections.
- Click on the collection for which you want to change the availability.

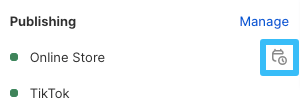
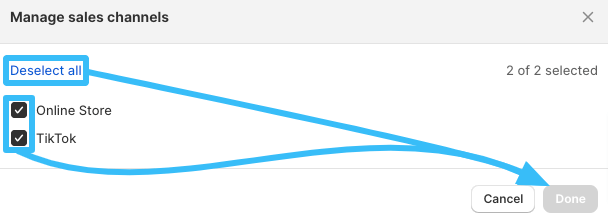
- In the Publishing section in the upper right corner, click Manage to view all the sales in which the collection is currently available.
- In the Manage sales channels window, uncheck any channels you don’t want the collection to be available in, or click Deselect all. Then click Done.
- Click Save to implement your changes.
Delete a Collection
Maybe a collection has passed its metaphorical sell-by date. Maybe you only ever intended to use it as a one-off for a short period. Or maybe you’ve replaced it with a different collection.
Either way, you want it gone.
Follow these steps to remove outdated collections from your store:
- Log in to your Shopify admin.
- In the left-hand menu, click Products > Collections.
- Tick the collection(s) you want to permanently delete.

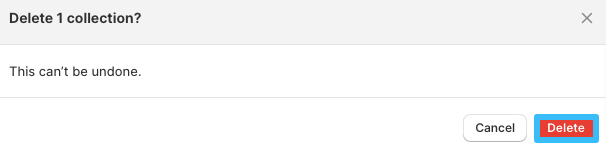
- In the menu at the bottom of the screen, click the More actions button (three dots) and hit Delete collection.

- Click Delete to confirm you definitely want to permanently delete the selected collections.
Hey presto, your collection will vanish into the ether, never to be seen again.
FAQs on How To Edit Shopify Collections
How Do Collections on Shopify Work?
Shopify collections are groups of products with similar characteristics (like product type or price). When you create one, it appears on your Shopify store as a web page containing all the products in the collection. Shoppers can click the product image or title to visit the product page.
How Do I Change the Collection Layout in Shopify?
Here’s how to change the layout of your collections in Shopify’s Dawn theme. The exact steps may vary for different themes, but the instructions should be similar."
- From your Shopify admin, navigate to Online store > Themes.
- Find the theme you want to edit, then click Customize.
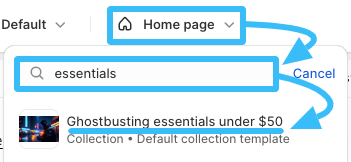
- On the Theme customizer page, click the drop-down menu that says Home page, then use the search box to find and click the collection page for which you want to edit the layout.
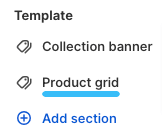
- Click Product grid in the left-hand menu.
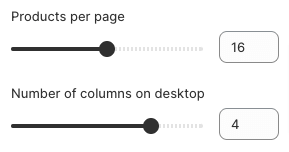
- In the left-hand menu, use the sliders to change the number of products per page and/or columns displayed on desktop.
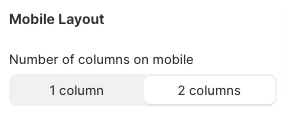
- Still in the left-hand menu, scroll down to the Mobile layout section to edit how many columns users see on mobile.
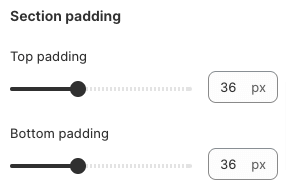
- Finally, under Section padding, use the sliders to change the amount of padding at the top and bottom of the product grid.
- When you’re happy with your layout changes, click Save in the upper-right corner.
How Do I Edit Featured Collections on Shopify?
Here’s how to edit the featured collection on your store’s home page (bear in mind these steps may vary slightly by theme):
- From your Shopify admin, navigate to Online store > Themes.
- Find the theme you want to edit, then click Customize.
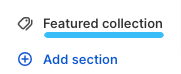
- In the left-hand menu on the Theme customizer page, click Featured collection.
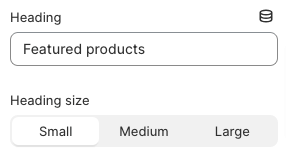
- Use the left-hand menu to edit various elements of your featured collection, including the heading text and size, the description, and the number of products you want to display.
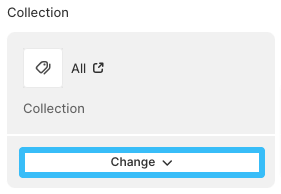
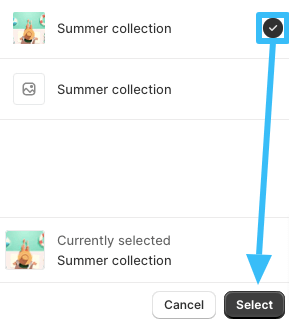
- Alternatively, to choose a different featured collection, scroll down to the Collection section in the left-hand menu and click Change > Change collection.
- Tick the new collection you want to feature, then click Select.
- When you’re happy with your changes, click Save in the upper-right corner.
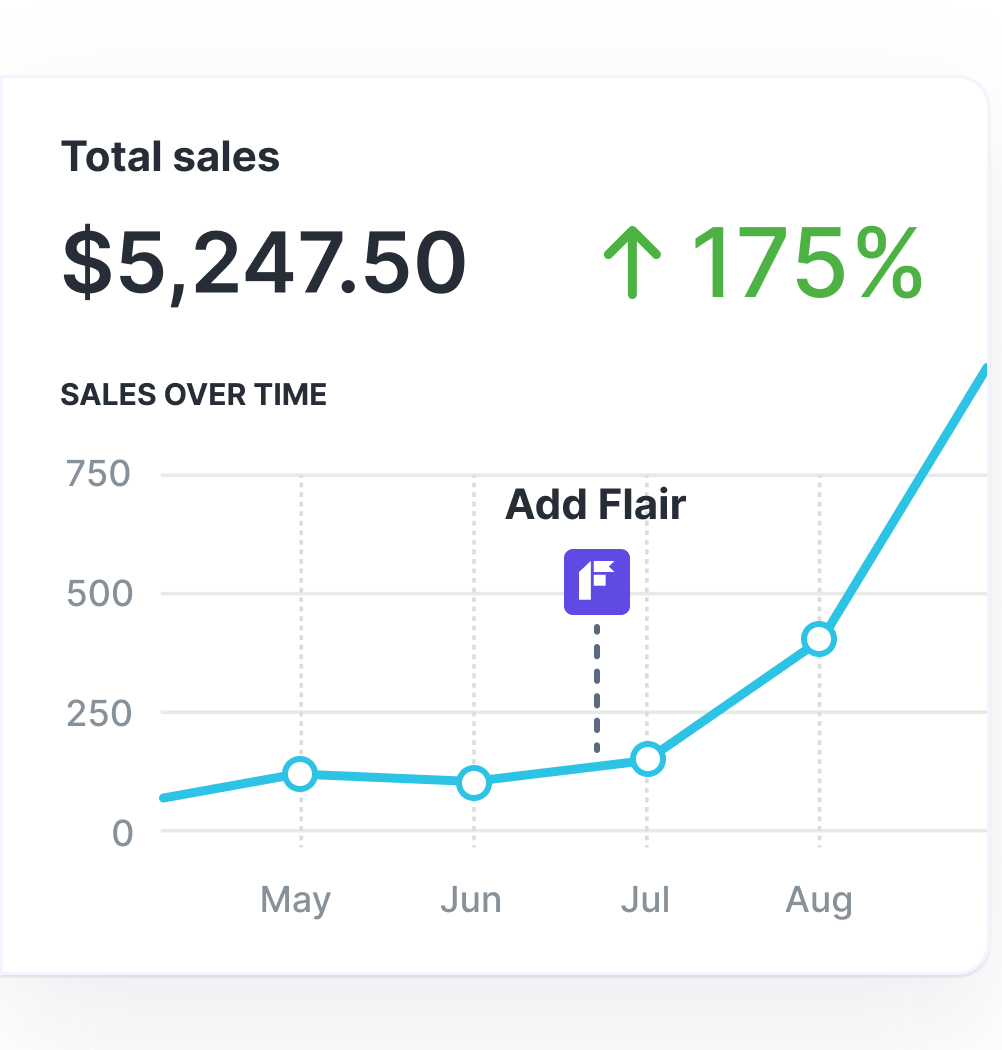
Grow Your Shopify Sales by over 175% with Flair
-
Increase sales using product badges and sales banners
-
Maximize conversions with scarcity, urgency and countdown timers
-
Automate promotions with targeted rules and scheduling